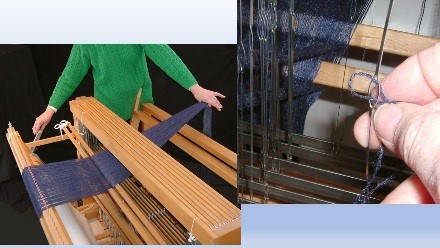
I think I was born with threads in my hands. At an early age I discovered what weavers call “structure” – the way vertical threads and horizontal threads interlace. I drove my dear mother crazy because of my compulsive behavior to pick a piece of fabric apart to see how it was put together or woven. I quickly discovered that not all fabrics were woven in the same way – some horizontal threads (what we call the weft) went over one vertical thread (the warp) and under the next thread. But some weft threads went under two warp threads, then over two threads. Then I discovered there were even more ways these threads could interlace.
Color in Weavng -- Warp Painting
With this early curiosity about weave structure you would think this would be my starting point when weaving today. But no, some where along the line, color became much more important or interesting to me than the way the threads were woven together.
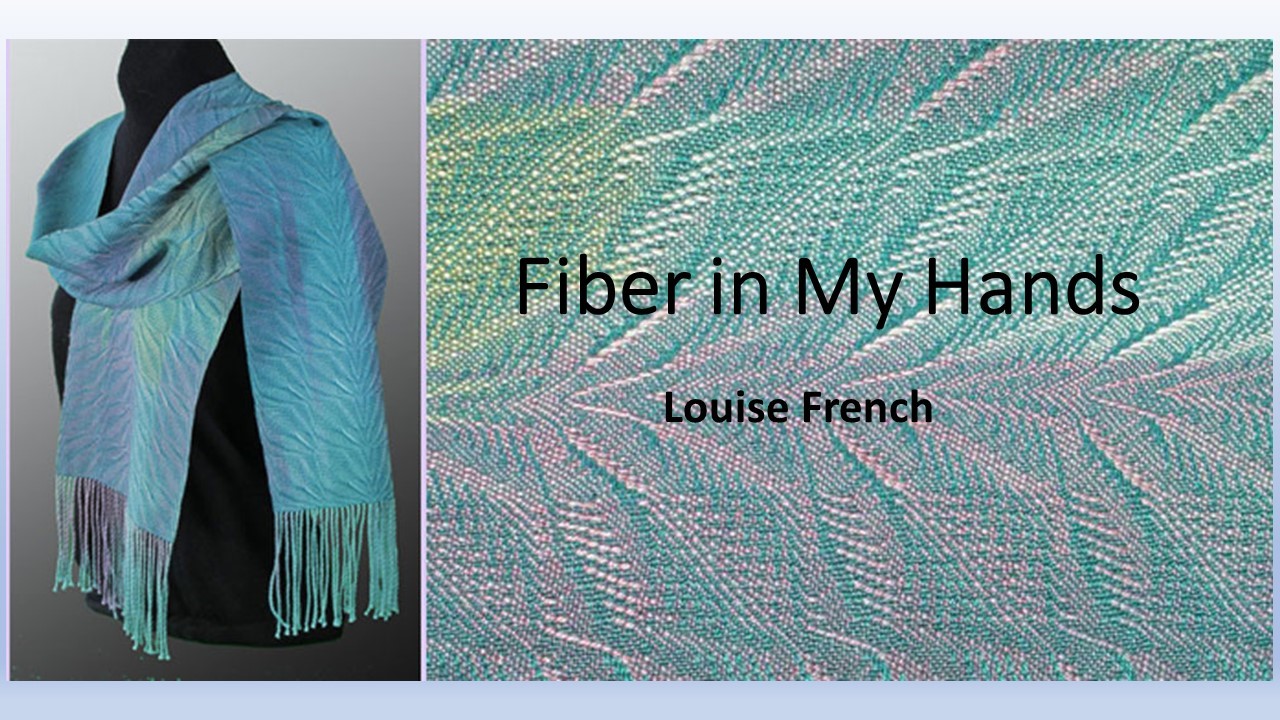
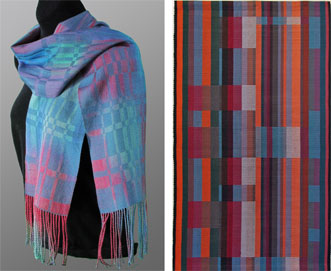 Over the last few years my work has focused on two quite different areas of weaving. The first begins with fine, white silk, which I paint with fabric dyes. The picture on the left is one of the results. The second is a traditional Swedish weave structure called rep weave, or in Swedish Ripmatta, which means ribbed mat.
One of the questions I’m always asked is, “How long did it take you to make that?” Let me show you a few pictures that show part of the process of creating a hand painted silk scarf and then you tell me how you would answer that question.
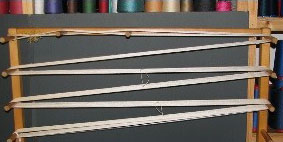 With any weaving project the yarn that is held under tension on the loom needs to be measured to the proper length for that project. In this case I am using fine, white silk that I will ultimately dye.
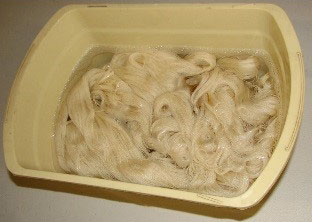 After the yarn is measured I soak it in a solution that helps the dyes penetrate the fiber better.
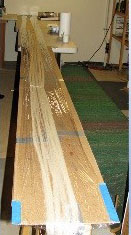 The wet threads are laid out on plastic wrap that covers my work table.
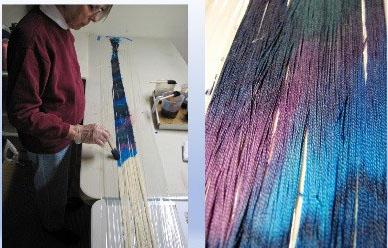 Then the fun begins. Using 3-5 colors and with a sponge brush I paint the dyes onto the silk yarn.
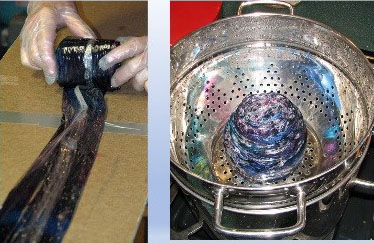 Once the yarn is completely painted, I roll it up in the plastic wrap, put it in a steamer and steam it for 45 minutes to set the dye. Next comes the hard part….waiting. The rolled up yarn must rest overnight until it is completely cooled.
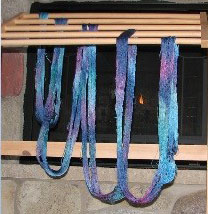 When it is cooled, I remove the yarn from the plastic wrap and hang it to dry.
After it is dry, I can wind it onto the back of my loom, thread each individual thread through a heddle, tie the threads onto the front of the loom and then I am finally ready to weave.
Back to that question…How long did it take you to weave that? Well, what I think most people mean is how long did it take to do what I’m doing here…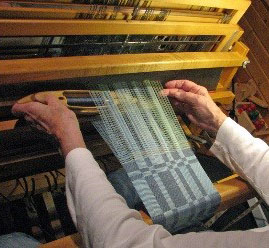 throwing the shuttle and interlacing the threads. But as you can now see, there is so much more to the process.
How would you answer that question?
Over the years I’ve answered this question in a variety of ways, but today the short answer is about 2 days of throwing the shuttle, 5 days of preparation and more than 40 years of experience.
And here again is a finished scarf. 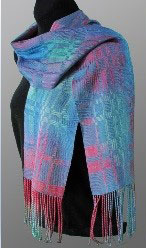 Rep Weave
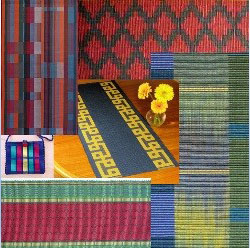 As I said earlier, the second area of my weaving interest is rep weave. For this weave, I do not dye yarns, but rather select yarns from my shelf.
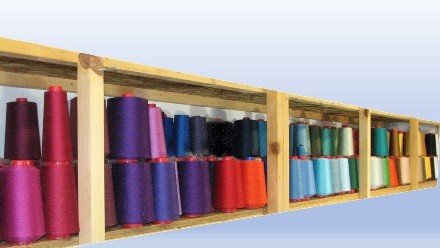 Yes, I have a lot of yarn. To emphasize the point my husband figures I have about 200 miles of yarn.
But back to rep weave. Despite what the name implies, I do not weave mats or rugs, but rather wall hangings, table runners and place mats and bags.
This rep weave, titled “Summer Prairie” won a red ribbon at this year’s Minnesota state fair Fine Arts exhibit. 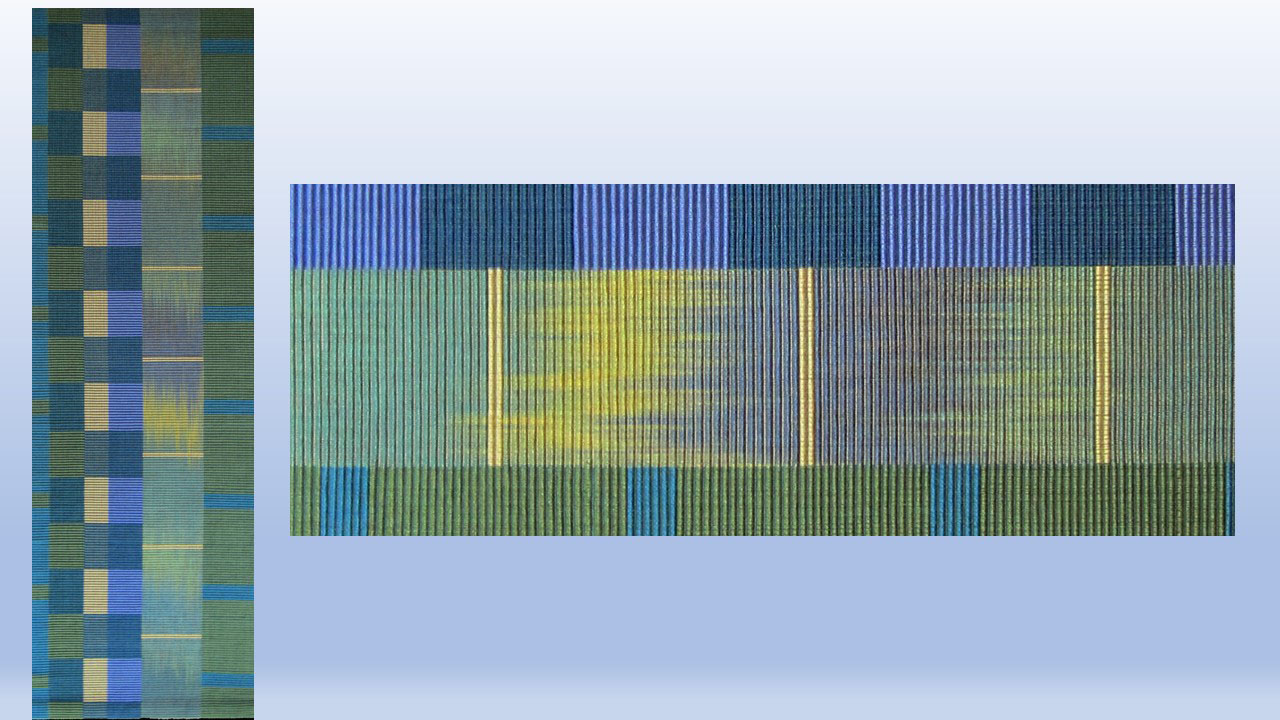
Ply-Split Braiding
Threads running through my fingers have a calming effect. At the end of the day, when I no longer want to weave, I still need to have my hands active and fiber in them. About 10 years ago I discovered an ancient braiding technique called ply split braiding. I was thrilled because it was portable and the yarns needed were already on my shelf for my rep weaving. Unlike a loom, I can take my Ply-Split Braiding anywhere and do it while watching tv, riding in the car, or just relaxing. When I learned about Ply-Split Braiding I was still teaching many weaving classes in a variety of locations.
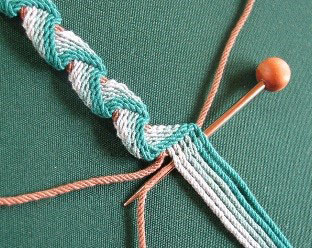 My husband suggested I add Ply-Split Braiding to my class offerings. My response was, NO, the tool I used to learn the technique was clumsy and difficult to use and I said I would not frustrate students with inadequate equipment. He asked what I wanted, I told him and after 6 months of experimenting this tool, a gripfid was born. Unbeknownst to either of us a small international internet business was born selling his gripfids and other needed supplies for the art of ply split braiding.
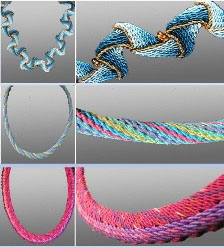 I think many of you have seen some of my ply split braided necklaces. Here are a few more examples
 .
.
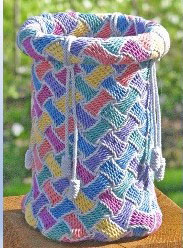
I also make baskets such as this one.
Thank you for letting me to share my love of fibers with you. This creative outlet has been an important part of my life for more than 40 years.
Fiber in My Hands
Louise French’s life journey with fiber art and an overview of painted-warp silk dyeing.
Louise described her life’s journey as a fiber artist in a recent lecture. A shortened version below is also a good overview of the painted warp silk dyeing process, and an introduction to ply-split braiding.
Copyright 2018 Louise French. All rights reserved.
Ply-Split Braiding gripfids, cords, books.
©All content is copyrighted by Louise French 2007-2023
Contact Louise by e-mail at louise @ louisefrench.com
